Table of Contents
Introduction
Sending an email is an essential and necessary part of business, commerce, government, education, entertainment, etc.., There are multiple ways of sending email for example sharing newsletter, confirmation mail, verification mail, subscription mail, etc., In this article, we’ll learn how to send the email with nodejs using SendGrid API with the realtime example. Let’s build a simple newsletter platform to send a list of current news in the email.
Why SendGrid?
There are various providers/packages to provide email services in nodejs like Nodemailer, Postmark, Imap…,. But the problem with other SMTP is that most emails will be classified as spam.
Sendgrid is one of the best email service providers. Their pricing starts at $19.95/mo for 50k emails. They also provide features like better analytics and a dynamic template editor. We can try it out by integrating easily and explore features with 100 emails/day for free.
Prerequisite
Basic knowledge,
- To write the backend with nodeJs (expressJs)
- On expressJs function and how middleware works
At first, we need SendGrid credentials (API key) to configure SendGrid into our project. So let’s register into SendGrid and generate an API key.
- Head to https://signup.sendgrid.com/ and create an account with the required data

- Create a Single Sender and verify

- Create an API Key
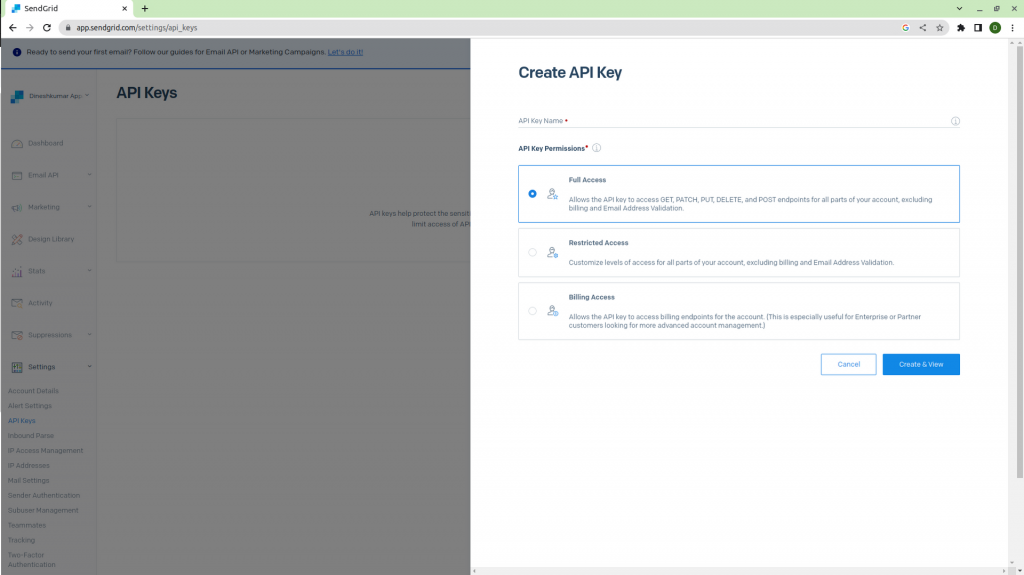
- Now we have the API key and API key id. Copy and keep the API key securely

Setting up the simple nodejs app
For writing endpoints, we can use expressJs, one of the simple and best frameworks to write a strong backend app.
Open your favorite code editor (vs code, atom, etc…). I am going to use VS code (Visual Studio Code as VSCode) editor.
We can use an external terminal and also vscode’s terminal, I usually go with vscode. Let’s open the terminal and type
npm initIt will ask a set of questions, you can fill your details, or else you can leave it with the default value by just clicking enter.
Also, you can use -y flag to set all queries with default values (npm init -y)
Now package.json will be generated with all entered details
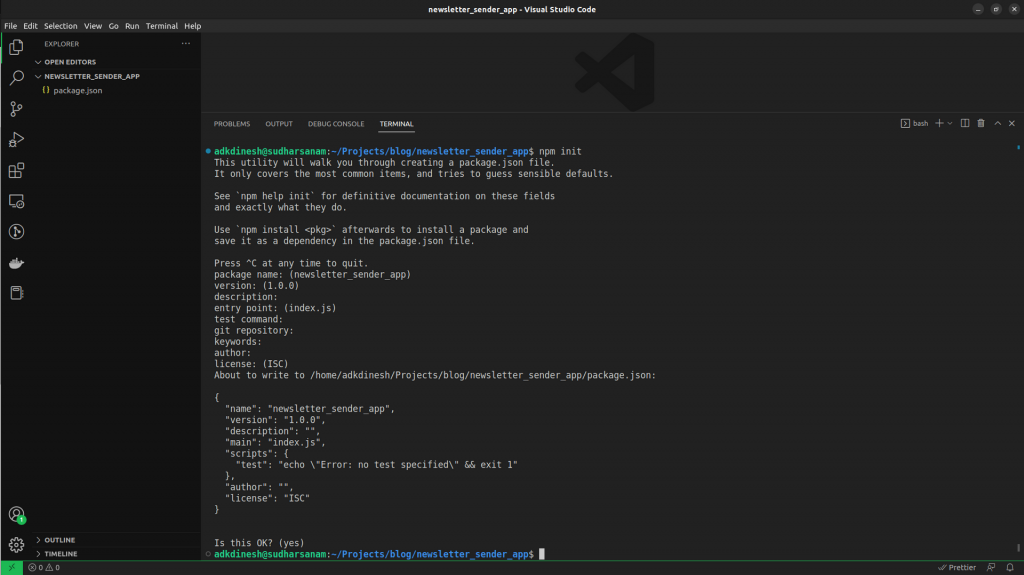
Let’s add express (package)
npm install expressCreate a file named with index.js as in package.json (main: "index.js")
Let’s just start with Hello World! as usual
Copy and paste the below code into index.js
const express = require("express");
const app = express();
const port = 3000;

app.get("/", (req, res) => {
  res.send("Hello World!");
});

app.listen(port, () => {
  console.log(`Example app listening on port ${port}`);
});
Now add the script to start the server in package.json (inside scripts block)
"start": "node index.js"You can now run the server with the command yarn start
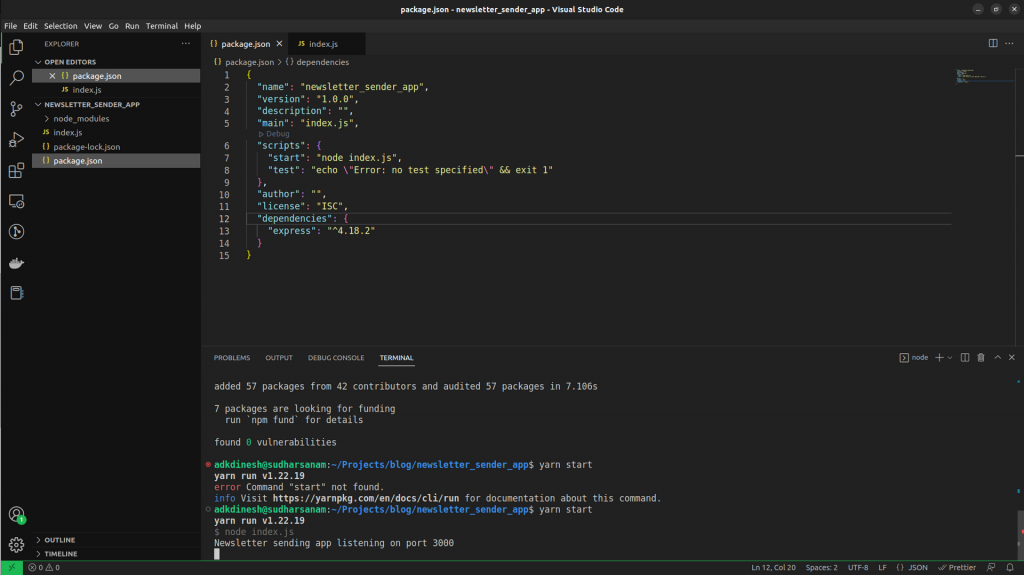
Now our server is running on port 3000
Just go to the browser and enter localhost:3000/ you will get “Hello World!”
Installing required packages
Let’s jump into the actual process
Install the required packages by running the below command
yarn add express axios @sendgrid/mailGetting News API
Now we need NEWS data, for that we can use https://newsapi.org/, a free and easy-to-use REST API that returns the JSON search results for current and historic news articles published by over 80,000 worldwide sources.
You can signup and get an api-key from their site https://newsapi.org/
Building Dynamic Template in SendGrid
Before configuring SendGrid, let’s build a dynamic template in the SendGrid portal. Visit https://mc.sendgrid.com/dynamic-templates
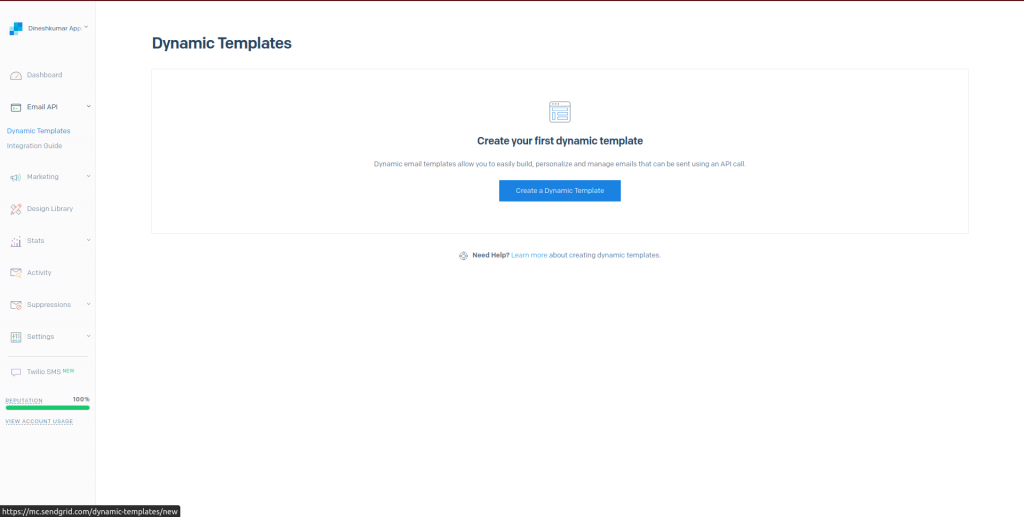
Click Create a Dynamic Template button
Give a name for the dynamic template and create it
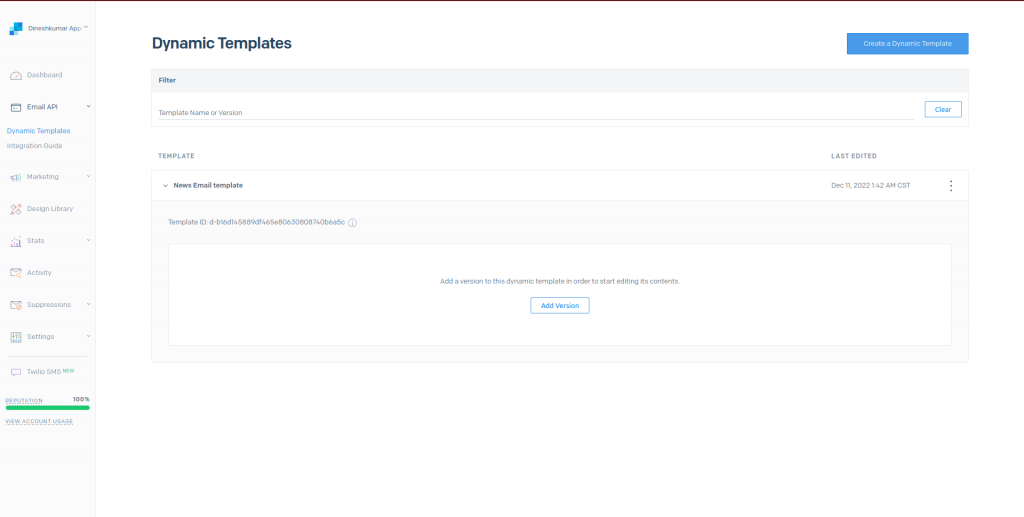
You can note down the Template ID: starting with d- for later purpose
Click Add Version
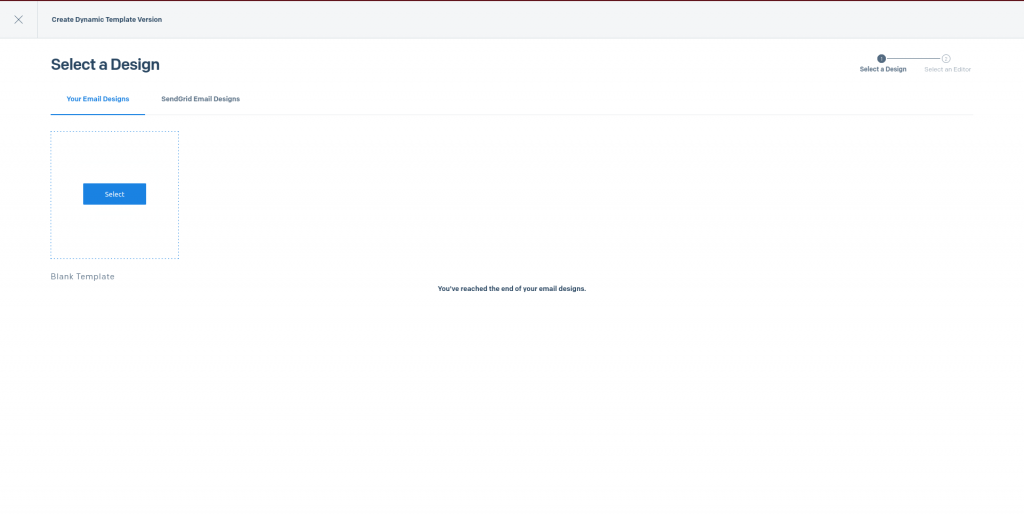
Select Blank Template. Sendgrid provides pre-designed email templates. For now, we will be fine with a simple blank template
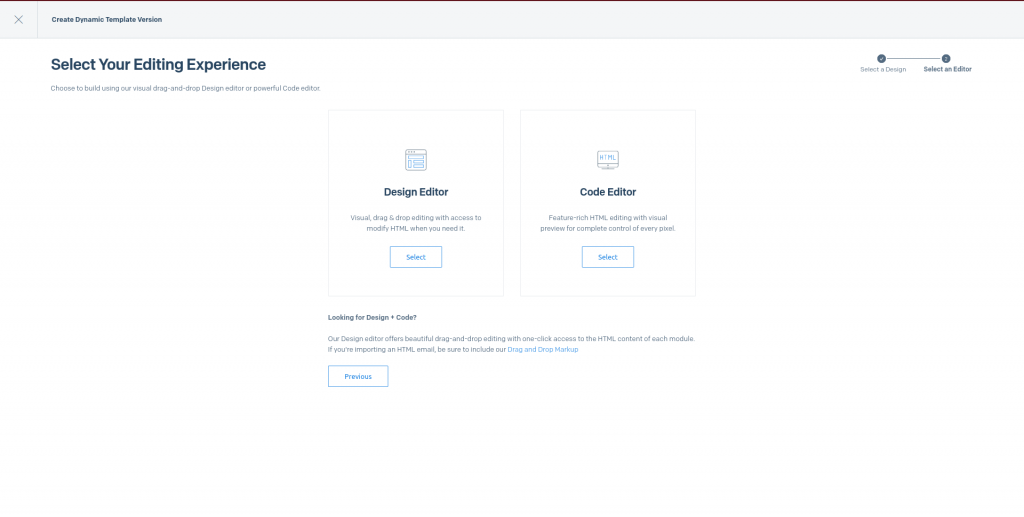
SendGrid provides 2 kinds of editing experience
- Design Editor
- Code Editor
Most common scenarios can be covered with Design Editor itself, however, if we need any advanced UI, we can go with Code Editor, there you can just code your design with a visual preview. Now let’s go with Design Editor
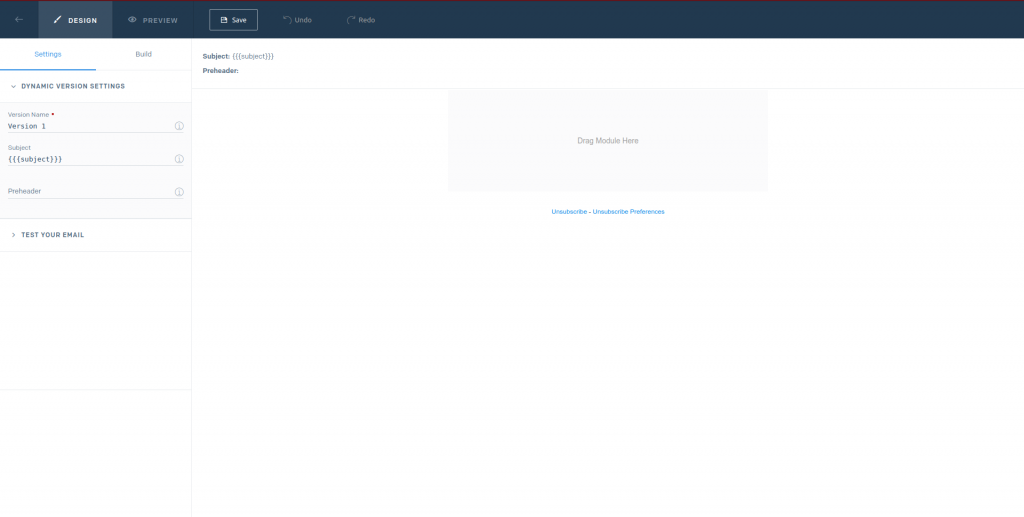
Let’s change the Version Name and Subject
Here, we are going to write subjects dynamically from the code, for that we can use replacements.
Text inside brackets {{{}}} will be considered as the replacement variable.
For example
{{{subject}}}Here, subject will be replaced with the content written in the code
Navigate to Build tab.
Drag and drop the Text module. Enter {{{general_headline}}}
Then drag and drop the Code module. Click the below link, Copy the HTML code from GitHub gist and paste it into the code module.
https://gist.github.com/Dineshkumargits/8f0a0ac5af484ebab9c12d90ecc9d270
That’s all. Save the changes (Save button will be in the top toolbar)
Configuring Sendgrid into nodejs
Import the required packages in index.js
const sgMail = require("@sendgrid/mail");
const axios = require("axios");
Let’s write an endpoint (/send_newsletter), copy and paste the below code into index.js
app.get("/send_newsletter", async (req, res) => {
  const today = new Date();
  const todayString = `${today.getFullYear()}-${today.getMonth()}-${today.getDate()}`;
  const query = "general";
  axios
    .get(
      `https://newsapi.org/v2/everything?q=${query}&from=${todayString}&sortBy=publishedAt&apiKey=${NEWS_API_KEY}`,
      {
        headers: {
          "Accept-Encoding": "application/json",
        },
      }
    )
    .then(async (response) => {
      const news = [];
      const limit = 10;
      if (response.data.articles.length > limit) {
        for (let i = 0; i < limit; i++) {
          news.push({
            image_uri: response.data.articles[i].urlToImage,
            news_url: response.data.articles[i].url,
            news_headline: response.data.articles[i].title,
            description: response.data.articles[i].description,
            author: response.data.articles[i].author,
          });
        }
        const personalizations = [
          {
            to: TO_EMAIL,
            dynamicTemplateData: {
              subject: "Latest news",
              general_headline: response.data.articles[5].title,
              news: news,
            },
          },
        ];
        const templateId = "d-b16d145889df465e80630808740b6a5c";
        sgMail.setApiKey(SENDGRID_API);

        const data = {
          from: {
            email: FROM_EMAIL,
          },
          templateId: templateId,
          personalizations: personalizations,
        };
        await sgMail.sendMultiple(data, (error, result) => {
          if (error) {
            console.log(JSON.stringify(error));
          }
          if (result) {
            console.log(result);
          }
        });
        res.send("Newsletter email sent");
      } else {
        req.send("There are no enough articles to send mail");
      }
    })
    .catch((err) => {
      console.log("er", err);
      res.send("Something went wrong");
    });
});
Initially, we sending the Axios Get request to newsapi with query, from and news_api_key.
After getting the response from the newsapi, we need to build the personalization to make the request to SendGrid API.
Replace the NEWS_API_KEY1 and SENDGRID_API with yours.
Provide TO_EMAIL and FROM_EMAIL
That’s all about the development
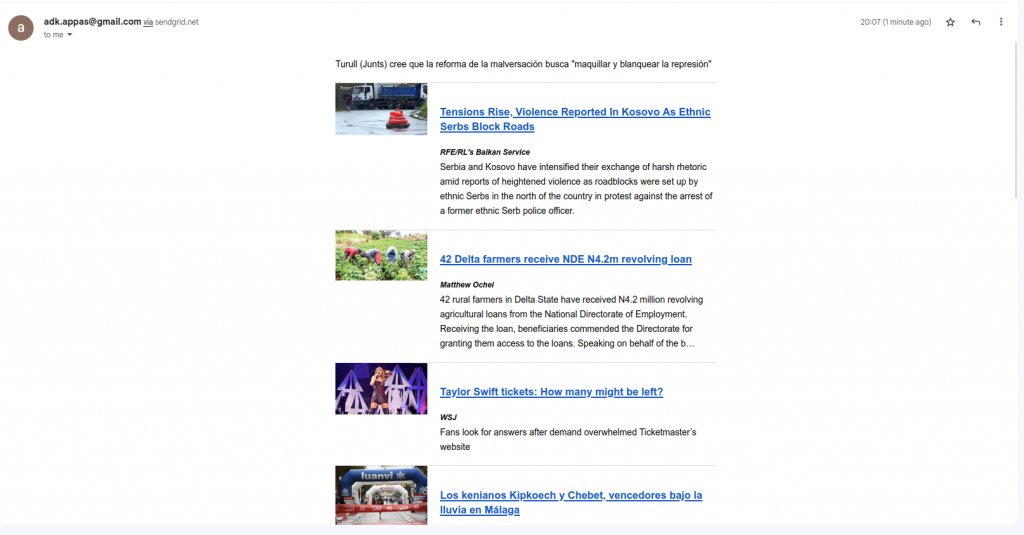
Let’s see the output of our work.
Ensure the express app server is running, which we started some time ago.
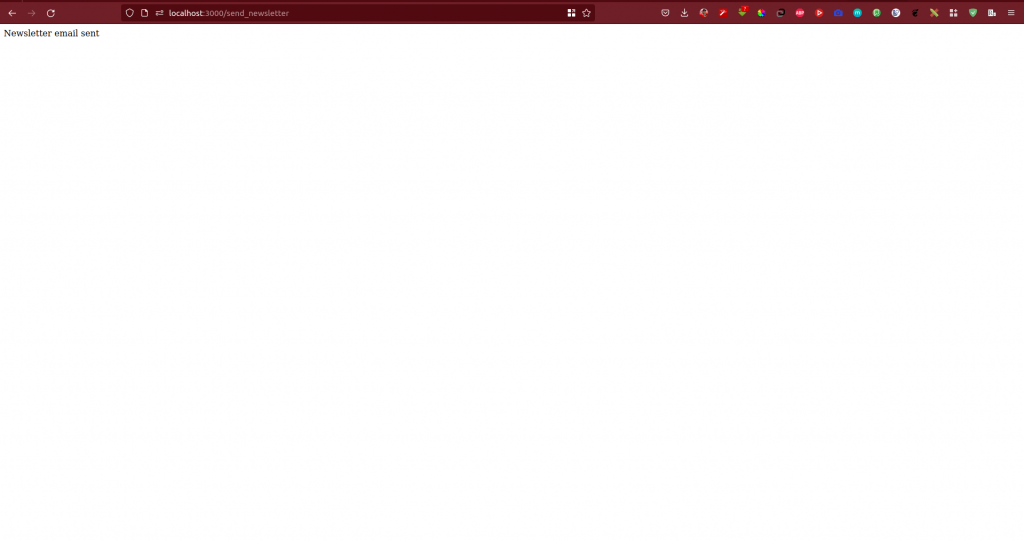
Open the browser and hit http://localhost:3000/send_newsletter, you will get the response as Newsletter email sent
Check your inbox TO_EMAIL or spam folder and verify you received an email from the app
Final Talk
Sending emails using SendGrid does not require advanced knowledge about the email service architecture, Sendgrid will take care of the security and speed of email delivering stuff.
Thanks for your valuable time to know this unknown. Please find the GitHub link for this tutorial below.

